by Jessica Sharples
Here are step by step instructions to promote your camps events, and setup social media / mailchimp accounts to do so – if you don’t already have these.
- FACEBOOK:
If you don’t have one already, create a Facebook PAGE for your camp — You will do everything through your Page like create your Community Facebook Group & Online Burn Event.- Choose Community or Public Figure
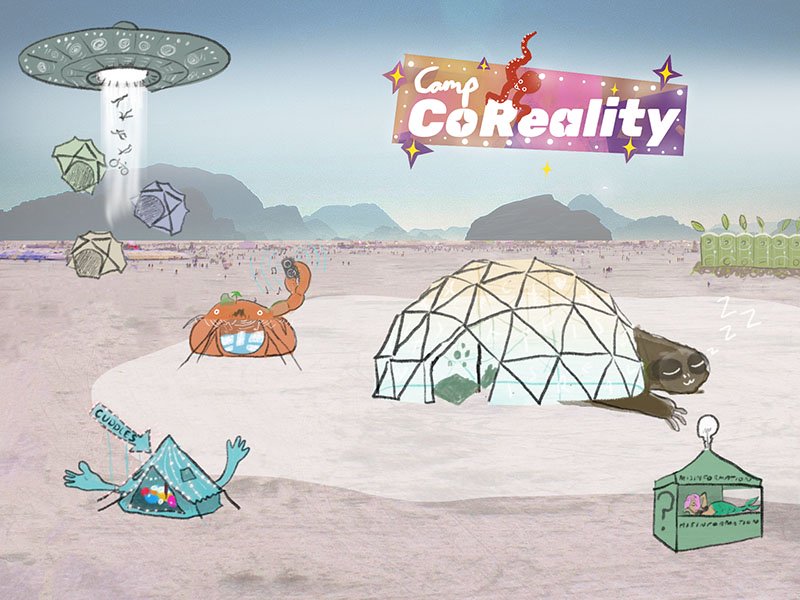
- Page Name = Camp Name + Online Burn (i.e. Camp Co-Reality at the Online Burn)
- Category = Community
- Add a profile picture = Upload a 1:1 square graphic logo, preferably the same logo that will be on the SparleVerse playa map.
- Add a cover image = Have fun and show the people in your camp. This could be a horizontal photo of your camp members at BM or a Zoom screenshot of your camp members all dressed in the theme of your camp/ any theme (fancy dress, etc) and make sure to SMILE!
- About
- Create Page username = Camp Name + bm (i.e. @campcoreality.bm)
- Enter email = we recommend making a gmail account for your camp so all of your emails live in one place (i.e. campcoreality.bm@gmail.com)
- Enter website = optional
- Edit About = Give a brief description of your camp values and add that you will be an official camp at SparkleVerse for the 2020 Online Burn.
- Our Story = Add a fun silly photo of your camp. Write a longer description of your camp’s history. How did you all meet? What years of BM have you attended? Restate your values and the general kind of experiences you will be gifting to the 2020 Online Burn.
- Team Members = Add everyone who is in your main camp planning team. This is VITAL to sustainability. This will allow all team members to add to the page & event.
- Add Button = Choose ‘Contact you.’ Then choose ‘Send Message’ or ‘Send Email.’
- Community = Optional but highly recommended. Create a private Camp Community Group. This is to build your community and post fun/ random videos, photos, blogs etc. to build rapport and trust with your community.
- Event
- Event Name = Sparkle with + Camp Name + Virtual Burning Man (i.e. Sparkle with Camp Co-Reality at the 2020 Online Burning Man)
- Location = Choose where most of your members are located, this will be helpful for setting the correct time zones when you add your event hours.
- Description = Captivating text (i.e. Come party with Camp Co-Reality at the 2020 Online Burn! We are proud to announce that we have officially been chosen by SparkleVerse, one of the Multiverses of the Online Burn, to host our very own camp space on the digital playa) Dates of the Burn, sneak peek of program offerings, link to tickets, and call to action (i.e. Get your ticket today!)
- Category = Party
- Start and End = Dates of the Online Burn (Aug 30th – Sept 6th)
- Co-hosts = Add all the Team Members from the Page as co-hosts.
- Admission = Skip
- Options
- Choose Anyone Can Post
- Choose Posts must be approved by a host or co-host
- Guest List = Choose Display Guest List
- Click Publish → Voila! Your event is created!
- Invite friends to like your Page
- Click See All Friends
- Select All
- Send Invites
- Have ALL of your team members do this!
- INSTAGRAM:
Create Camp Instagram Page – if you don’t already have one- Add Account
- Create New Account
- Create Username = Same name as your Facebook Page (i.e @campcoreality.bm)
- Sign-in using Email = use your BM gmail account & password
- Add Profile Photo = same logo as Facebook Page, this creates brand consistency so people will recognize you.
- Follow Accounts You Know = follow everyone who your personal IG is already following
- Create your first post
- The photo be your Facebook page profile photo or cover photo
- Caption = Announce you’ve been chosen to co-create the 2020 Online Burn on the SparkleVerse digital playa.
- Create #s you will use on all your posts
- Make a note in your phone with all the #s to copy and paste on future posts.
- Write 28 #s to create visibility (#burningman #onlineburn #sparkleverse #thisisreal #onlineevent #online #onlineparty #zoom #party #virtualparty #universe #dance #aerial #collective #artists #love #creators #lockdown #quarantine #connection #intimate #fun #crazy #sparkleverse #bm #cabaret #dj #multiverse)
- Post list of #s as a comment on the post. This will bring your post higher on people’s newsfeed because there is more ‘activity’ on it.
- Have all of your team/ camp members like and comment on all posts. Even if that comment is just a couple emojis, this will bring you up more in people’s newsfeeds.
- Post regularly and at peak hours (10am PT and after 5pm PT)
- EMAIL/MAILCHIMP:
Create MailChimp – if you don’t already have email list software- Sign up for free at https://mailchimp.com/
- Create account using designated email (campcoreality.bm@gmail.com)
- Have all team members import their personal email lists. This is easiest by exporting a CSV from their own gmail accounts and adding it to your Audience.
- Select Audience → Audience Dashboard
- Manage Audience
- Import Contacts
- Create your email template
- Select Campaigns → All Campaigns
- Create Campaign
- Campaign Name = 2020 Online Burn
- Edit Recipients = All subscribed contacts, edit recipients, Personalize the “To” field, Merge tab, *[FNAME]* this will avoid the emails from going into spam folders.
- Add Subject and Preview Text, follow MailChimp recommendations.
- Content → Design Email
- Basic, 1 Column
- Add logo
- Add text announcing 2020 Online Burn
- Add event graphic
- Add Button called “Get Tickets!” that links to ticket page
- Add Social Follow and link your Facebook page & Instagram Page
- Send that email!
- Send emails at least once a week with updates. We recommend sending 3 emails during the week before the Burn.
- Sign up for free at https://mailchimp.com/